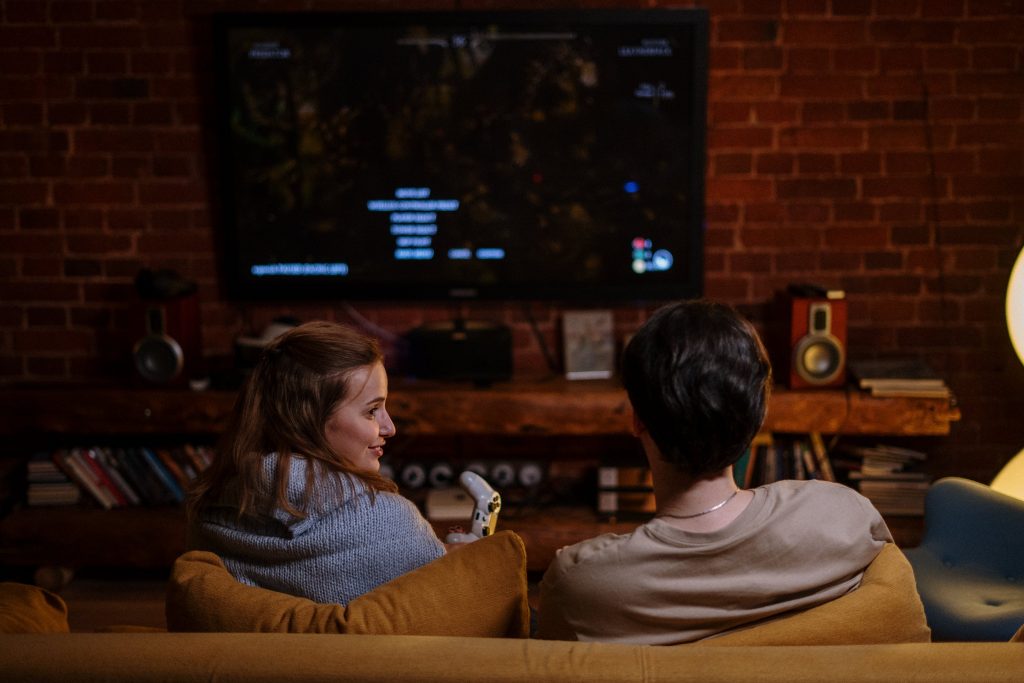
Modern TVs in 2026 are incredibly capable, but they often ship with settings that chase “wow” instead of realism. The result is familiar: faces look waxy, film grain disappears, shadows get crushed into flat black, bright skies turn into a white sheet, and motion looks hyper-smooth like a daytime soap. The fix is not buying extra gear or memorizing technical charts. It’s choosing the right picture mode, then making a few targeted adjustments so the TV stops fighting the content. You’re aiming for two things at once: natural motion and stable highlight detail in HDR. The best approach is to set up a quick repeatable test using scenes you can pause and replay, because your eyes adapt fast and “better” can feel worse for the first two minutes. Pick one dark scene with faces lit by a lamp, one bright outdoor scene with clouds, and one fast sports clip with panning cameras. Start from a neutral preset (often called Movie, Cinema, Filmmaker, or Custom) and treat every extra enhancement like it’s guilty until proven helpful. In most living rooms, the biggest wins come from turning down heavy processing, setting HDR tone mapping intelligently, and getting color temperature and contrast under control. Once those basics are right, you can tweak motion smoothing in a way that keeps sports readable without making movies look unnaturally slick.
Start with the “right” picture mode and kill the worst processing first

Picture mode is your foundation because it bundles dozens of hidden choices. For natural movies, you usually want Movie/Cinema/Filmmaker, because they target accurate gamma, restrained sharpness, and a warmer white point. For sports in a bright room, a separate Custom mode can work, but avoid Vivid or Dynamic as your baseline because they often clip highlights and oversaturate colors, which makes HDR look loud but less detailed. Once you’re in a neutral mode, turn off or reduce the features that create the “plastic” look. The biggest offender is usually excessive sharpness and edge enhancement, which draws halos around jerseys, subtitles, and faces. Lower sharpness until fine detail looks clean rather than outlined. Next, disable noise reduction unless you’re watching poor-quality broadcast. On good streams and 4K discs, noise reduction can smear film grain and erase texture in skin, fabric, and stadium grass. Also reduce “digital clean view,” “smooth gradation,” or similar features if they flatten subtle shading in skies and walls. If your TV has “dynamic contrast,” “black enhancer,” or “auto contrast,” turn them off initially; these can pump brightness scene to scene and crush shadow detail, which hurts both movies and sports. Finally, check your backlight or OLED brightness separately from contrast. Backlight/OLED light controls how bright the screen can get overall, while contrast and tone mapping decide what happens to near-white detail. Setting the base mode correctly and removing aggressive processing gives you a stable, honest picture. Only then does it make sense to fine-tune HDR and motion, because otherwise you’re chasing problems your TV is creating.
HDR highlights: keep detail in skies, jerseys, and explosions without dimming everything
HDR should look like more realistic brightness range, not like a flashlight aimed at your eyes. The key is preserving highlight detail while keeping midtones and faces consistent. First, confirm you’re actually in HDR when you expect it; most TVs show an HDR label or icon. Then focus on settings that influence tone mapping: “HDR Tone Mapping,” “Dynamic Tone Mapping,” “Active HDR,” or “HDR Optimizer.” In many rooms, the best compromise is a gentle dynamic tone mapping or a “detail priority” option, because it can prevent bright scenes from clipping into flat white. If your TV offers a choice between “Brightness Priority” and “Detail Priority,” start with detail. Use your bright outdoor scene with clouds: if the clouds become a uniform white blob, highlights are clipping. If clouds keep texture but the whole image looks dull, you may be under-driving peak brightness. Adjust in this order: set your overall brightness (backlight/OLED light) for the room, then set contrast so whites are strong but not clipped, and only then choose tone mapping behavior. Some TVs also have “Peak Brightness” or “HDR Brightness” levels; medium or high can help if the picture feels too dim, but if it triggers harsh clipping, step back. Avoid raising the standard “Brightness” control too much, because that often lifts blacks and makes the image look gray. In movies, look at a bright lamp in a dark room: you want it bright, but you also want the surrounding wall to keep shading and the face nearby to remain natural. In sports, watch white jerseys under stadium lights; if logos and folds disappear, reduce contrast slightly or switch tone mapping toward detail.
Motion without the soap opera: separate blur reduction from judder smoothing
Motion settings are confusing because TV menus mix two different problems: blur from fast movement and judder from low frame-rate film. Movies are commonly 24 frames per second, which naturally has a certain cadence. When the TV tries to “invent” extra frames aggressively, you get the soap opera effect: motion looks too fluid and staged, and fine detail can warp around moving objects. Sports, on the other hand, often benefits from some motion help because camera pans and fast action can look smeary, especially on large screens. The trick is to keep movies mostly untouched while giving sports just enough assistance to stay readable. Look for controls like “Motion Smoothing,” “TruMotion,” “MotionFlow,” or “Picture Clarity,” and then see if the TV separates “Judder Reduction” and “Blur Reduction.” If it does, start by setting judder reduction very low, because that’s the part that changes the film cadence and triggers the soap opera look. Blur reduction can often be a little higher without making movies look fake, because it focuses more on fast movement clarity. Use your sports clip with a panning camera: if players leave trails and the ball is hard to track, raise blur reduction one step at a time. Then test a movie scene with slow camera movement across a room: if it suddenly looks like video, your judder setting is too high. Some TVs also offer black frame insertion (often called “OLED Motion,” “BFI,” or “Clear Motion”), which can improve motion clarity but can reduce brightness and cause flicker for some people. If you try it, use it mainly for sports and keep it modest. The goal is simple: movies should feel cinematic, and sports should be clear, with minimal artifacts like shimmering edges or weird warping around moving players.
Color that looks real: warm whites, controlled saturation, and a fast “skin test”
Color tuning is where a TV can look “impressive” but wrong. In 2026, most panels can hit wide color gamuts, so the temptation is to crank saturation and pick a cool color temperature that looks bright in a showroom. At home, that often turns skin orange or pink, grass neon, and indoor scenes strangely blue. Start with color temperature (sometimes “White Balance” presets like Warm 1/Warm 2). For accurate movies and natural sports, warmer settings usually get you closer to real-world white. The picture may feel slightly yellow for the first minute if you’re used to cooler modes, but it typically looks more lifelike once your eyes adjust. Next, don’t overuse “Color” or “Saturation.” If faces look sunburned or jerseys glow unnaturally, reduce saturation a notch. Then check “Tint” only if something is clearly green or magenta; most people should leave it centered. Many TVs have a “Color Space” setting like Auto, Native, or Custom. Auto is usually safest because it maps SDR and HDR correctly; Native can oversaturate and make everything look cartoonish. Now do a quick skin test: use a well-lit close-up of a face and look for three things at once. You want visible texture, not plastic smoothing; you want natural lips and cheeks, not neon; and you want whites (like a shirt or a wall) to look neutral, not bluish. If your TV has “Live Color,” “Color Booster,” or “Dynamic Color,” turn it off unless you’re specifically trying to punch up dull broadcast. Finally, make sure you’re not confusing sharpness with detail. Real detail comes from correct HDR mapping and clean processing, not from adding artificial edges that make the image harsh.
Leave a Reply